It’s true, food photographer’s don’t just simply press a button & viola! A beautiful, stunning food photo appears! Sadly, that’s not the case. There are so many factors that play into creating a gorgeous food photo, & today we’re going to talk about it! So, here’s a beginner’s guide to better food photos.
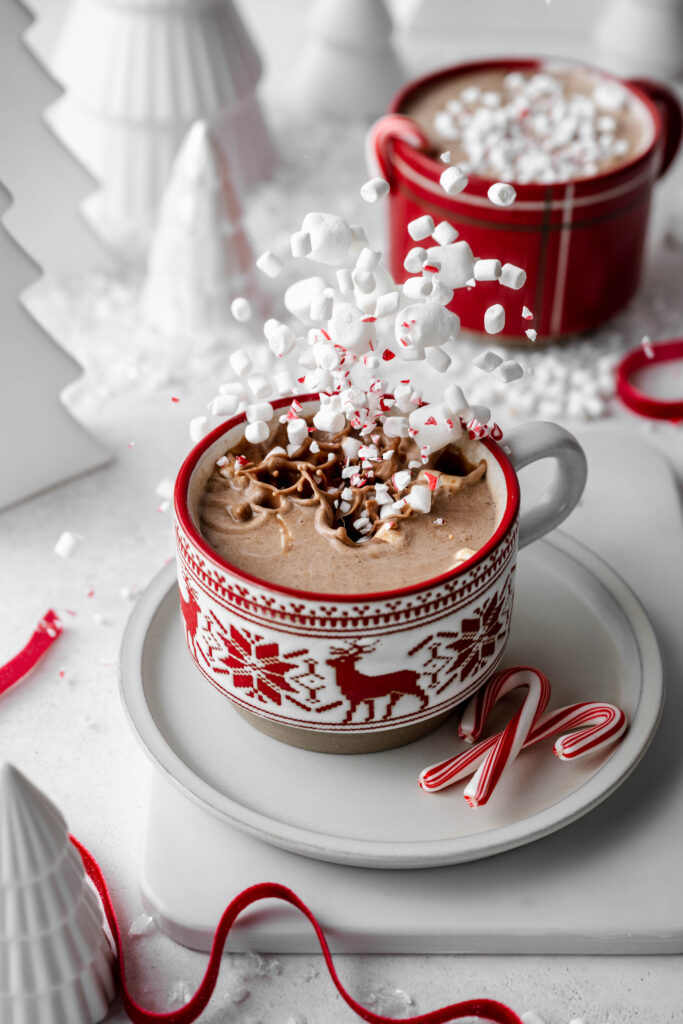
Learn Manual Mode
I’ll forever say that if you want to take great food photos, you have to learn & be comfortable in manual mode. The only way to be comfortable with it is to practice, practice…& practice! Manual mode was something that stopped me from picking up my camera for YEARS. I always shot in auto & was always frustrated by the results. Once I started practicing photography in manual mode, my photos totally changed.
There are some great YouTube videos out there that will teach you all about manual mode (that’s how I learned)! Practice changing your white balance, shutter speed, aperture, & ISO. Be patient with yourself & take your time learning each of these settings & how changing one will impact the others. I promise you, it’s worth it!
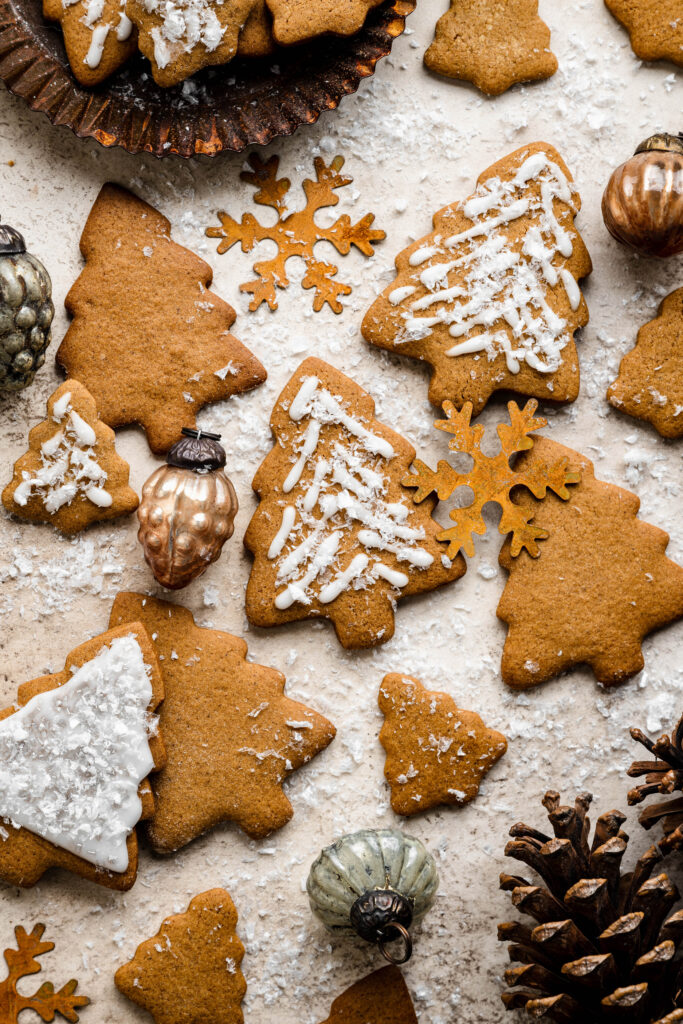
Practice Controlling Your Light Source
Once you’ve nailed your camera settings & are comfortable in manual mode, you can start to control your light source. It’s not enough to just have light for a food photo. You must know what angle to place your light source for the best results & how intense the light needs to be. There are so many ways to manipulate your light, but I’ll list some of the most common below.
Where you place your light source relative to your scene – this will dramatically change the look of your photo. Try backlight & then sidelight. Take an image from each angle & then compare the two to see the changes. (note: front lighting your subject is never recommended for food photography, as it will make your subject look flat)
Diffusion material – a semi-sheer white curtain in front of the window you’re using for your light source is a great way to diffuse the light, especially if it’s too strong (a super sunny day)
White bounce card – for fill light to lighten up shadows when they’re too harsh
Black card – for negative fill that intensifies shadows when you want to create a moodier scene
Pick Intentional Colors, Backdrops, & Props
When first starting out in food photography, I would say that less is more. You want to be super intentional about everything you’re putting in your scene. You also want to be sure the colors & props you’re adding aren’t taking away from your subject, which should be the star of the show!
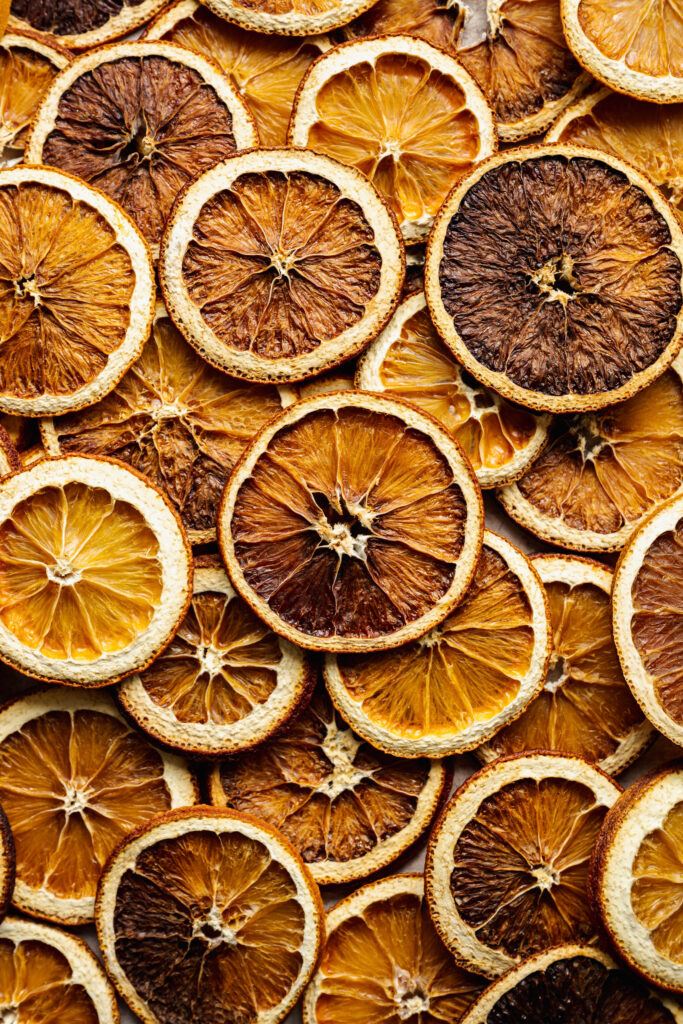
When you’re planning for your next shoot, try studying the color wheel. Try a simple color theory like complementary colors to start. This doesn’t mean your entire seen has to be two colors. One of the colors could simply be a garnish, but because it’s a complementary color, it has a big impact! Take a look at the photo below, for example. The complimentary colors are red & green, with the green being in the surface, the ribbon, & the sprig of pine. It’s nothing too over the top, but the colors together make sense.

Use Artificial Light
Artificial light is lovely because you can use it at any time of day. You don’t have to sit around & wait for the perfect natural light to appear & then rush to take your food photos. With artificial light, you have complete control over your light source 24/7.
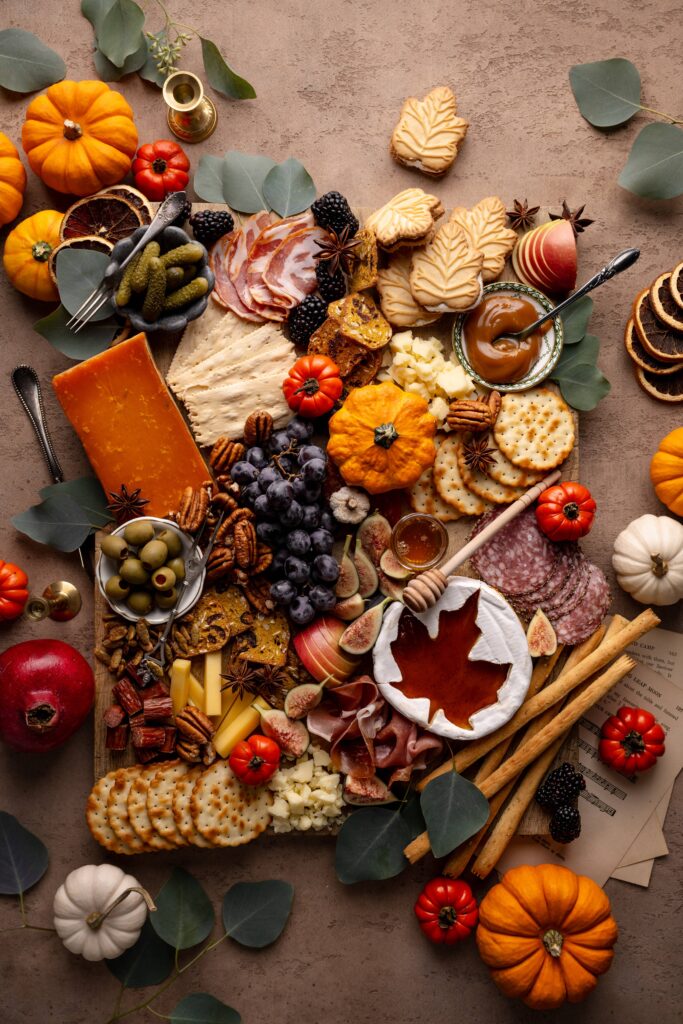
Another bonus of using artificial light is that it will create a cohesive look throughout all of your images. Take a look at the images below & notice how they all have a similar look. That’s due to my light being consistent & strong throughout all of my shoots, even though these photos were taken on different days, & different times of the day. Did I mention you can take photos with artificial light even when it’s pitch black outside? Such a win!!
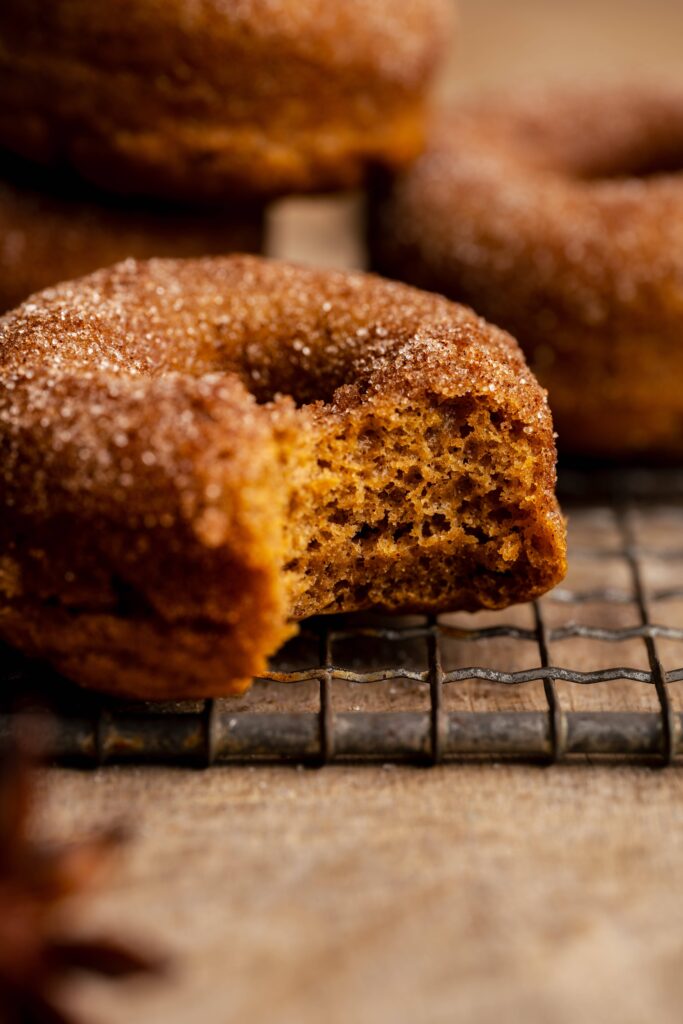
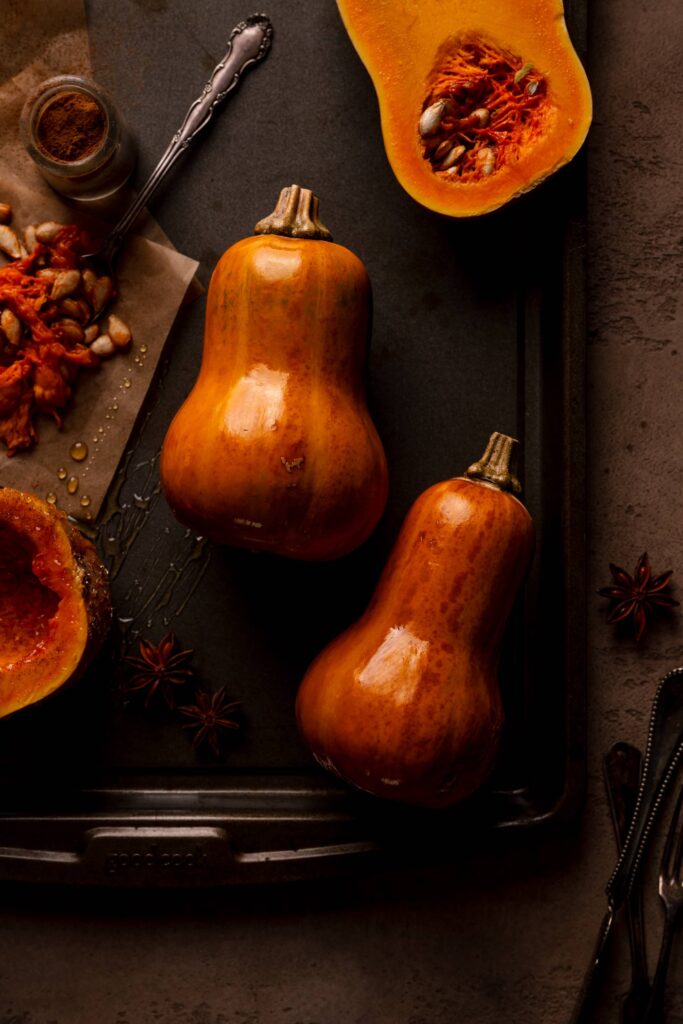
If you’re looking to make the switch, I have an eBook out that will help you transition from natural to artificial light it the most seamless way. I know it probably seems overwhelming, but I promise it’s not as intense as it looks. In no time you’ll be taking incredible food photos at any time of day.
In my eBook I also go over…
pros vs. cons of both natural & artificial light
over 45 minutes of video content showing you how to set up your flash & continuous light & different ways to manipulate artificial light
getting the flash & trigger to communicate with each other
steps to taking your first photo with artificial light
hurdles to overcome with artificial light & how to solve them
& more!
Check out these other artificial light posts:
How to Make Artificial Light Look Natural
COMMENTS