
6 Tips for Taking an Amazing Action Food Photo
I think my favorite photos to take are action food photos. I love the challenge of capturing the action at its best, the mess I tend to make to get the perfect drip or splash, & the feeling of finally getting THE shot. I’ve taken a handful of fun action shots over the last few years, so I wanted to share 6 tips for taking an amazing action food photo in this post.
Tip #1 – Use Manual Focus Instead of Auto Focus
I love using manual focus because it gives you full control over what area of your image you want to be in focus. For action shots, I always place the focus on where the action will be. Sometimes it can be tough to know exactly where the action will be, like a splash shot. In these cases, I like to test the focus by placing something like a pen where the focus will most likely be & make that my focus.
If you use auto focus, sometimes the camera won’t focus on the action, leaving you with a photo where the action is blurred. There’s nothing worse than finally capturing the action perfectly, only to find out that it’s not even in focus.
Tip #2 – Take Test Shots of Your Scene Before Introducing the Action
I like taking test shots before introducing the action because this allows me to really make sure everything is set up exactly the way I want it. I like to be sure the composition is where I want it, the lighting is good, & my camera settings are correct before taking the actual shots.
Tip #3 – Use a Tripod
Using a tripod ensures there won’t be any camera shake when you’re taking a photo. If you’re shooting free handed & you’re also the one to introduce the action into your scene, it’ll be hard for the camera not to shake & for you to get the actual angle you’re looking for. Having your camera secured on a tripod allows you to set up the exact angle you want & move around your scene.
Tip #4 – Take a Burst of Photos
In your camera settings, there’s an option for your camera to take a sequence of photos (usually up to 10 images in a row). This is nice because you don’t have to stress about getting the perfect action shot in one go. I like to set a 10 second countdown timer & have my camera take 5-8 images at a time. I wait until my camera takes the first photo & then I start introducing the action. If you’re doing something like a pour shot, you could turn the sequence of images into a cool GIF!
For flash users, note the recycle time on your flash. When my flash in powered on a higher setting, it won’t go off every time when my camera is taking a sequence of shots. For example, if my flash is set at a power of 1/4 & my camera is set to take 6 photos in a row, it’s likely the flash won’t go off during the 2nd & 5th shot.
Tip #5 – Be Prepared for Multiple Takes
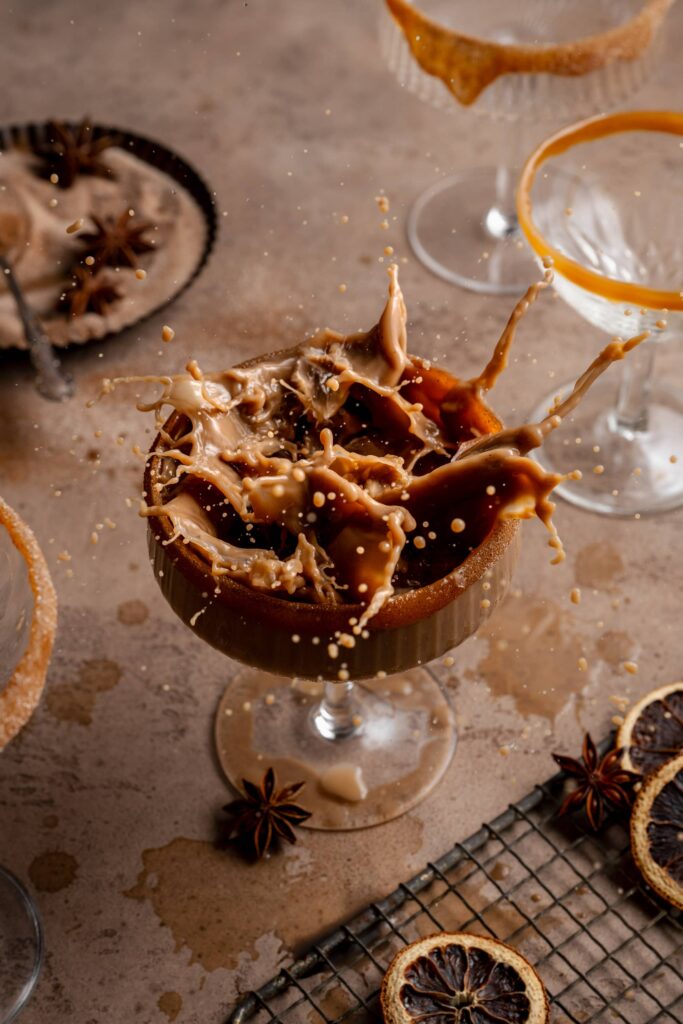
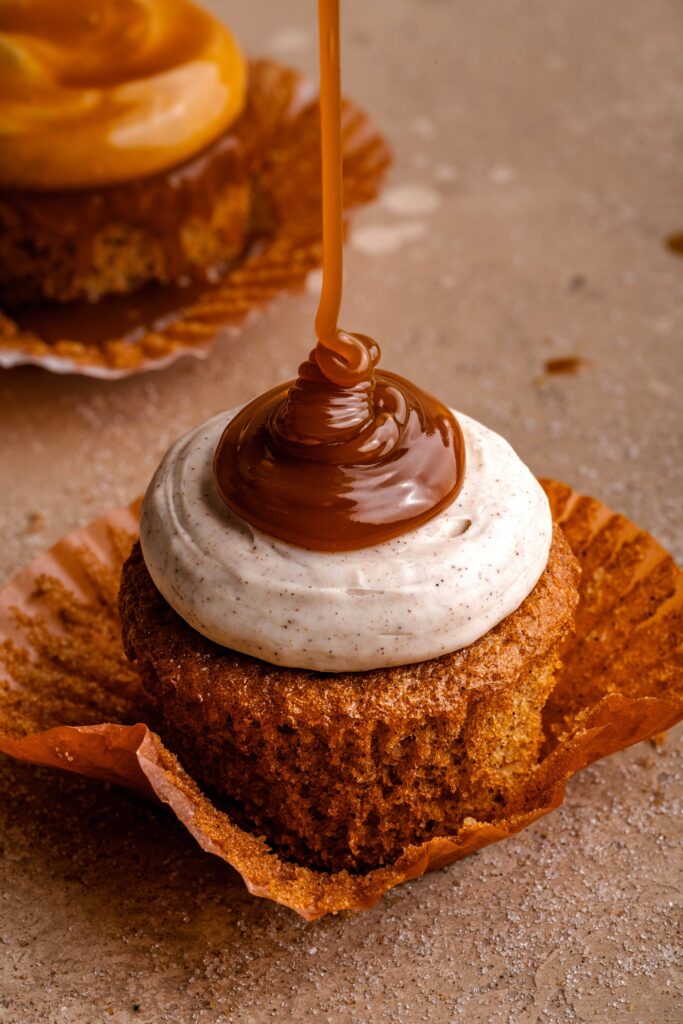
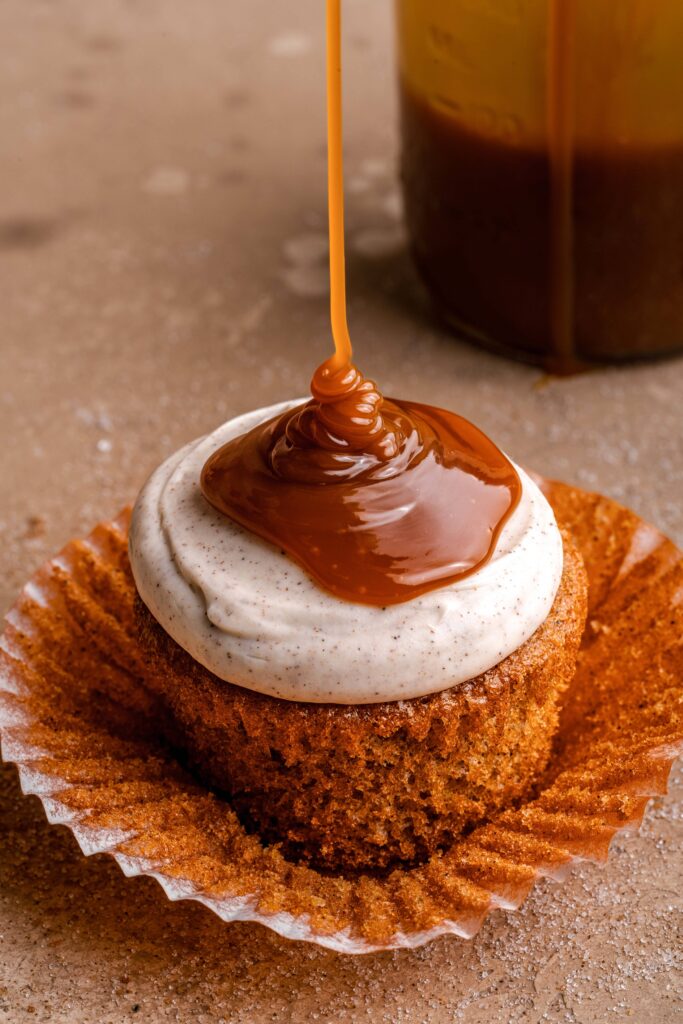
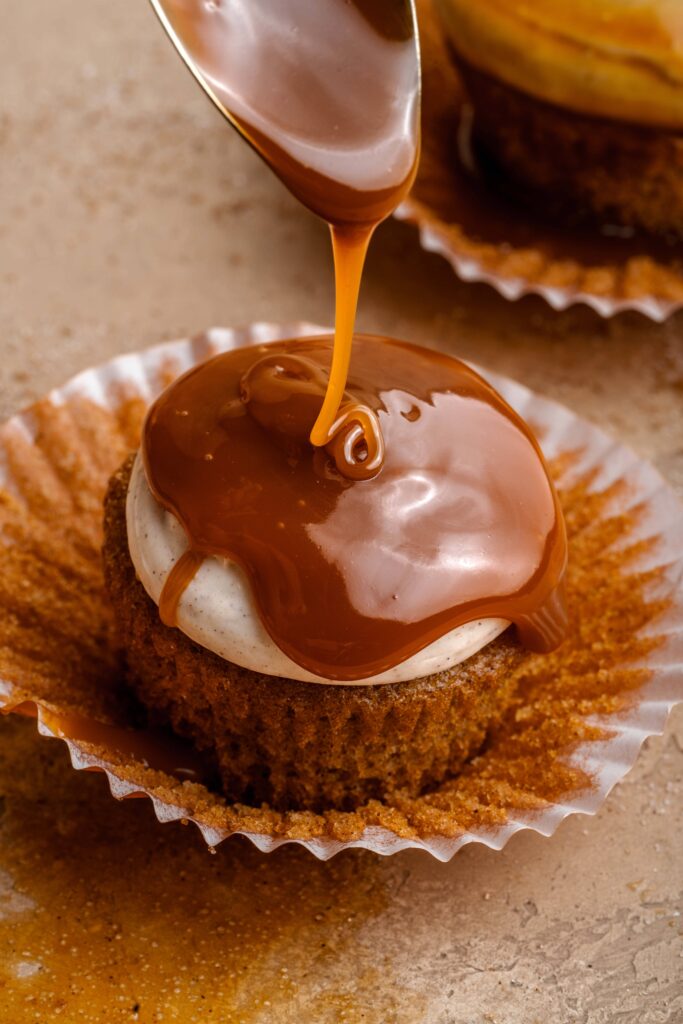
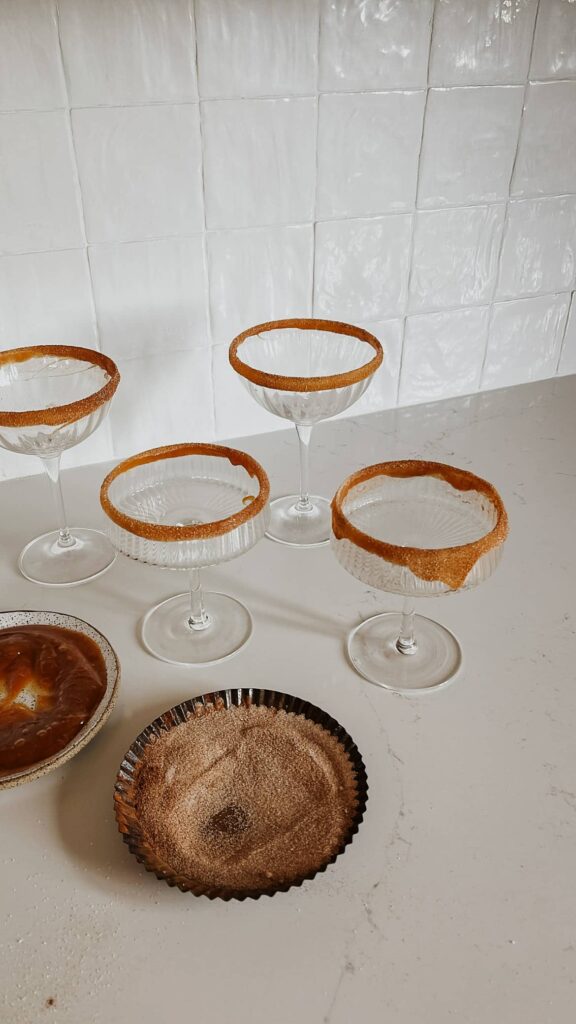
It’s unlikely you’ll get the perfect action shot on your first try. In the example below with the chai espresso martini, I had four extra cocktail glasses ready to use in case I needed them. If I’m taking a photo of a caramel drizzle on a cupcake, I make sure to have multiple cupcakes that I could use if I needed to take multiple shots. I do this because using the same cupcake doused in caramel sauce until I get a good shot wouldn’t be ideal. It just wouldn’t look that great!
Tip #6 – Set a Quick Shutter Speed (Natural Light Users)
For action shots, the quicker the shutter speed, the better. This is because the faster the shutter speed, the more likely it is that your camera will be able to freeze the action. I would say start at 1/400s for your shutter speed. If you can go quicker & adjust your other settings for a properly exposed scene, 100% do it!
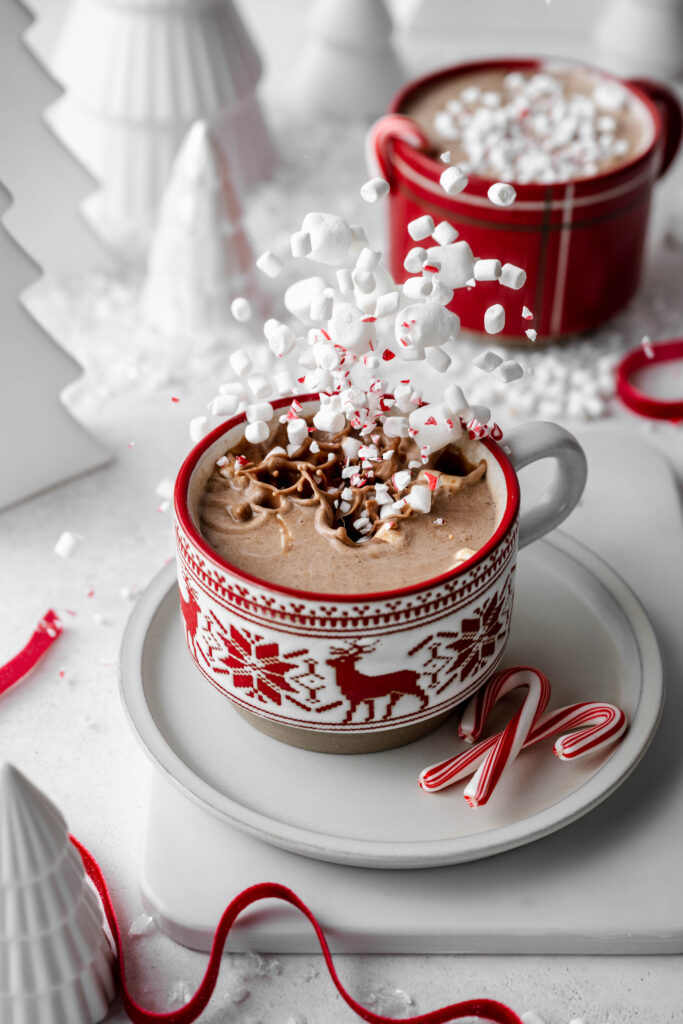
Below is an example of the same subject/action taken with natural light (1st & 2nd picture), & then taken with a flash (3rd picture). See how the flash does such an incredible job at freezing the powdered sugar snow? It looks like it’s frozen in time which I love. The snow in the natural light images looks blurred, which is totally fine if that’s the look you’re going for! I find that I like when the action is crisp & clear.
If you’re curious about settings, the first photo had a shutter speed of 1/250s, the second photo was 1/1000s, & the third photo was taken with flash at my max shutter speed (1/200s).
If you want to learn more about artificial light & how to use it to take incredible food photos, you can check out my eBook, Transitioning from Natural to Artificial Light.


I hope you enjoyed this post & you feel pumped up to take your next action shot! They’re such a fun challenge & it just never gets old.
Want some more tips about food photography? Check out these posts:
Beginner’s Guide to Better Food Photos
Five Reasons Food Photographers Should Learn Artificial Light
& My Latest eBook:

COMMENTS